
In this blog, I’ll share with you my TREASURE MOUNTAIN TRAVEL GUIDE : THE DETAILED ITINERARY FOR 2D/1N, how to do it the DIY (Do-It-Yourself) style while I share our learning and experience for in our first camping experience.
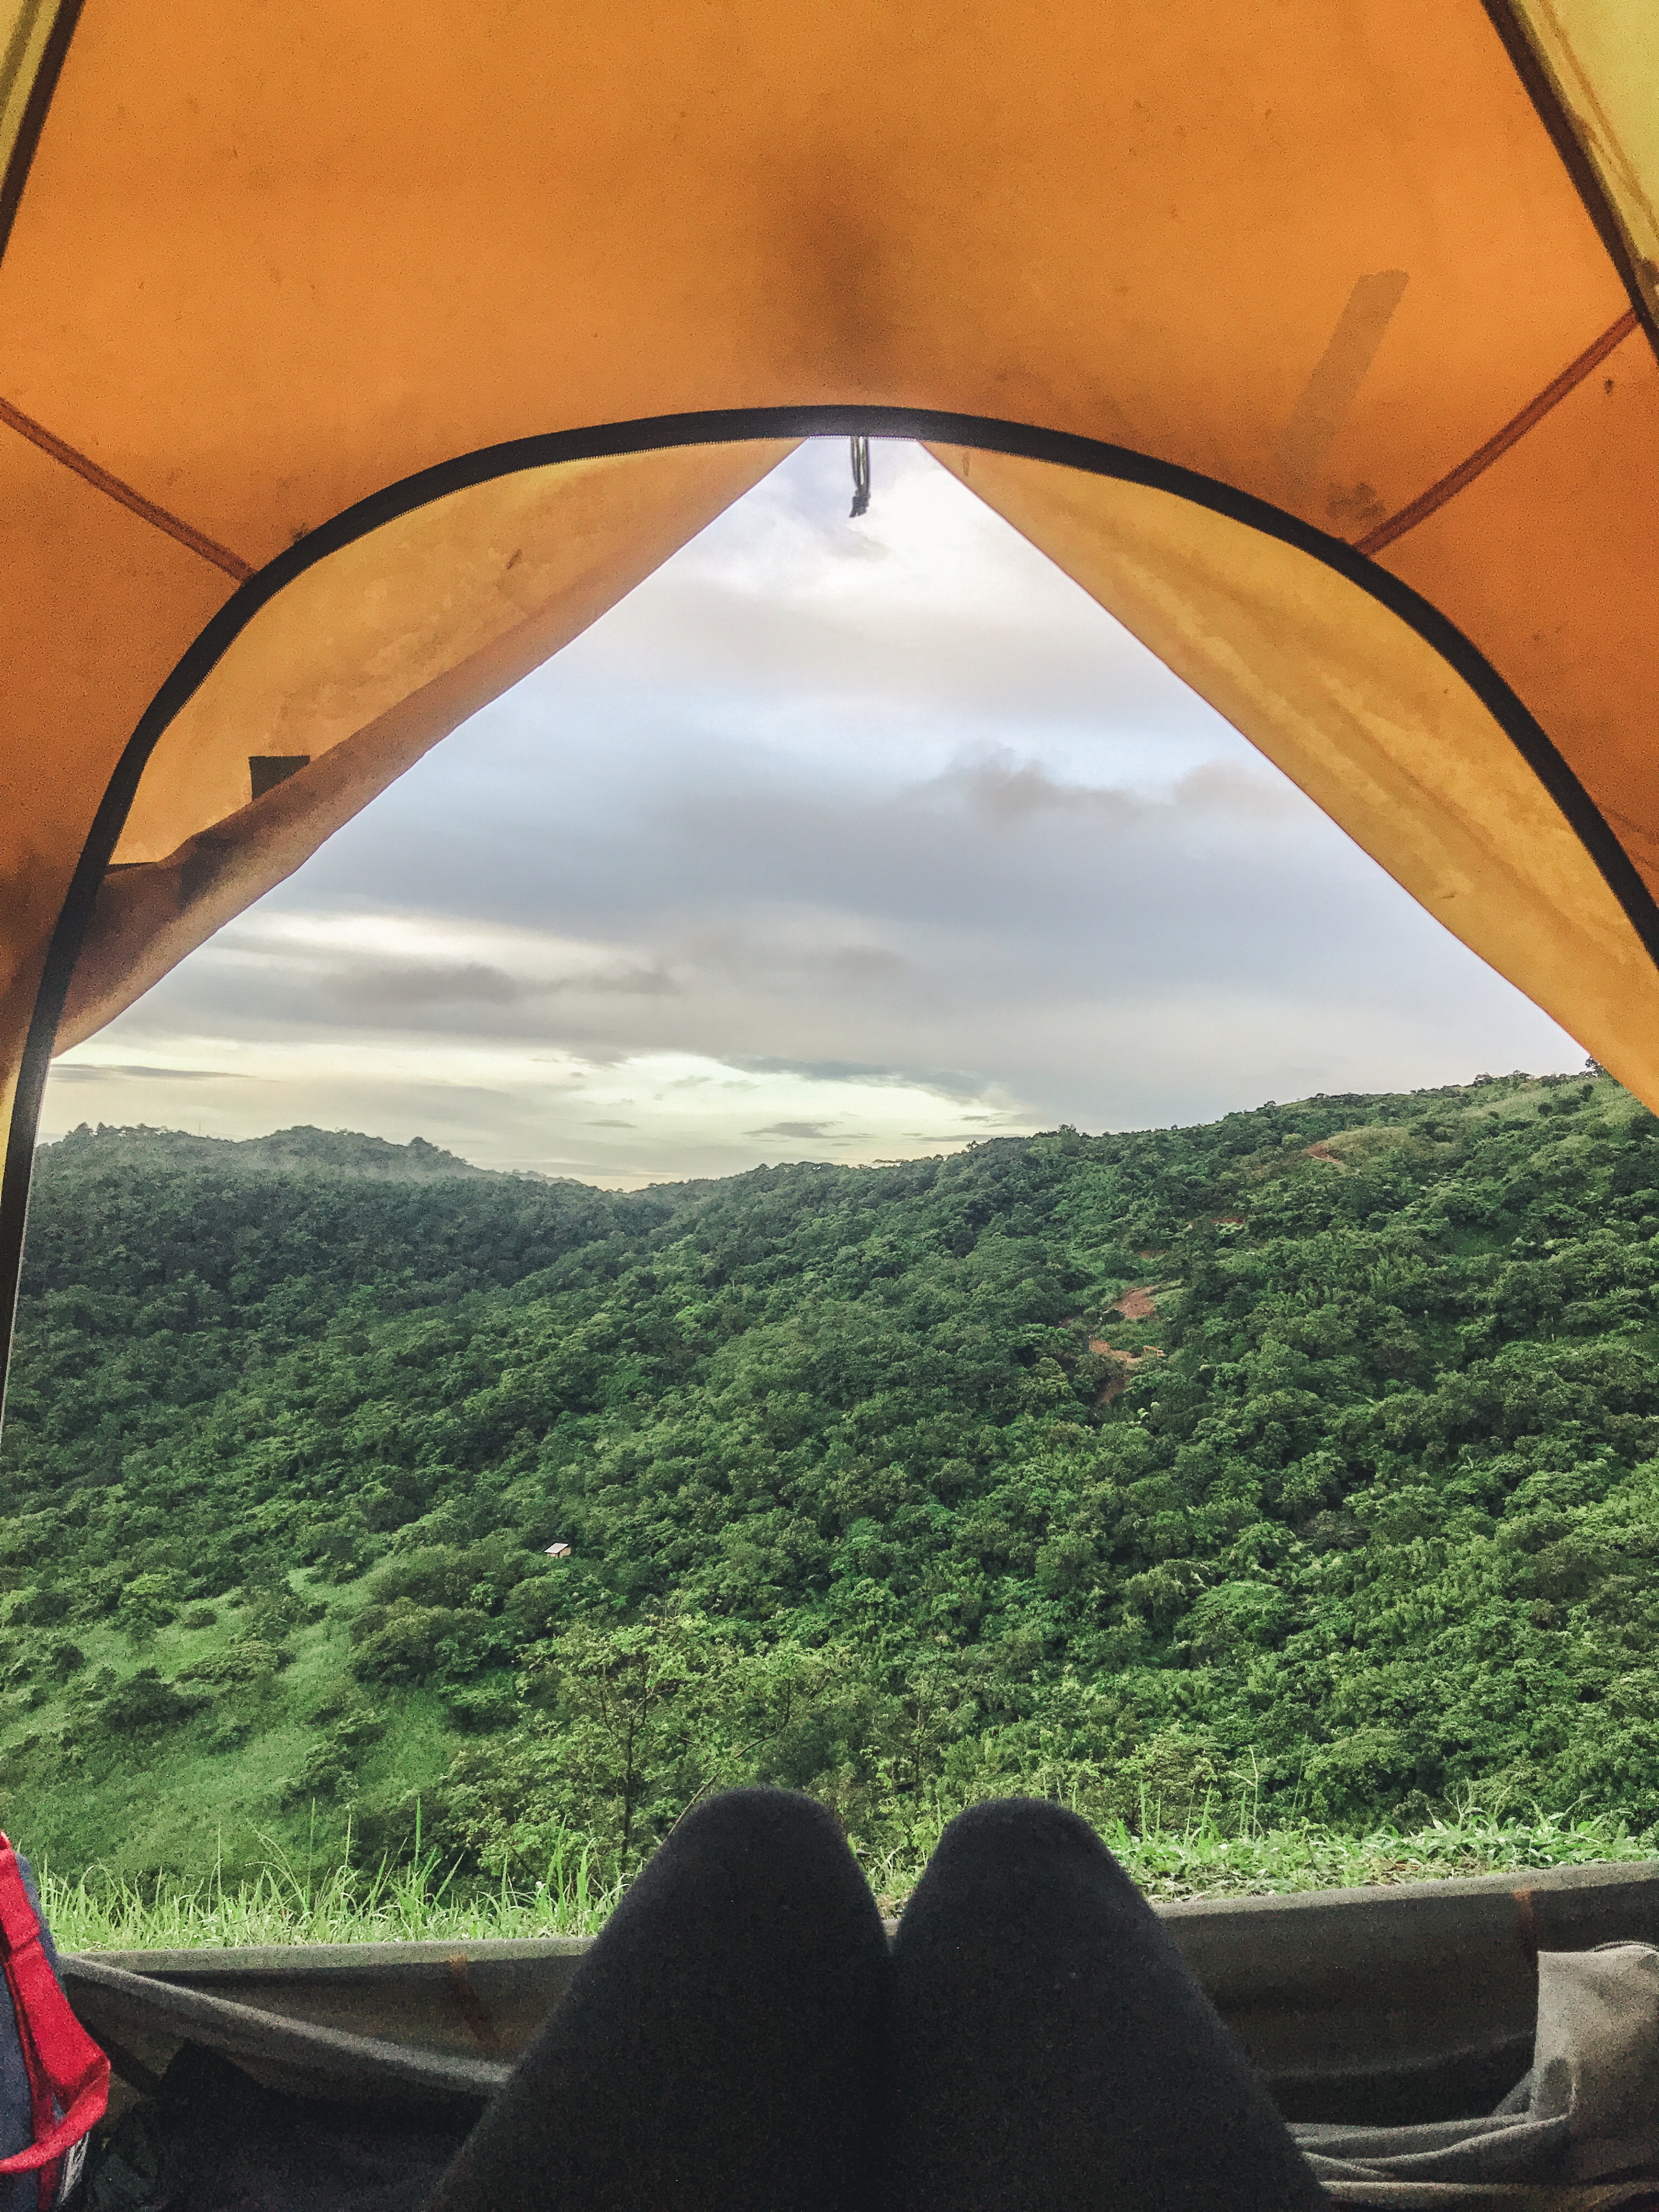
Right in the middle of the mountainous view, inside the tent that could probably fit in two people only, our clothes and mats all soaked up and wet due to the heavy rainfall. By 11:00 in the evening (*yes, this exact time) we all caught ourselves laughing as much as we could, we were laughing since all our clothes and bags we’re damp and wet, and we couldn’t do anything about it until eventually we just got tired, stopped and fell asleep afterwards.
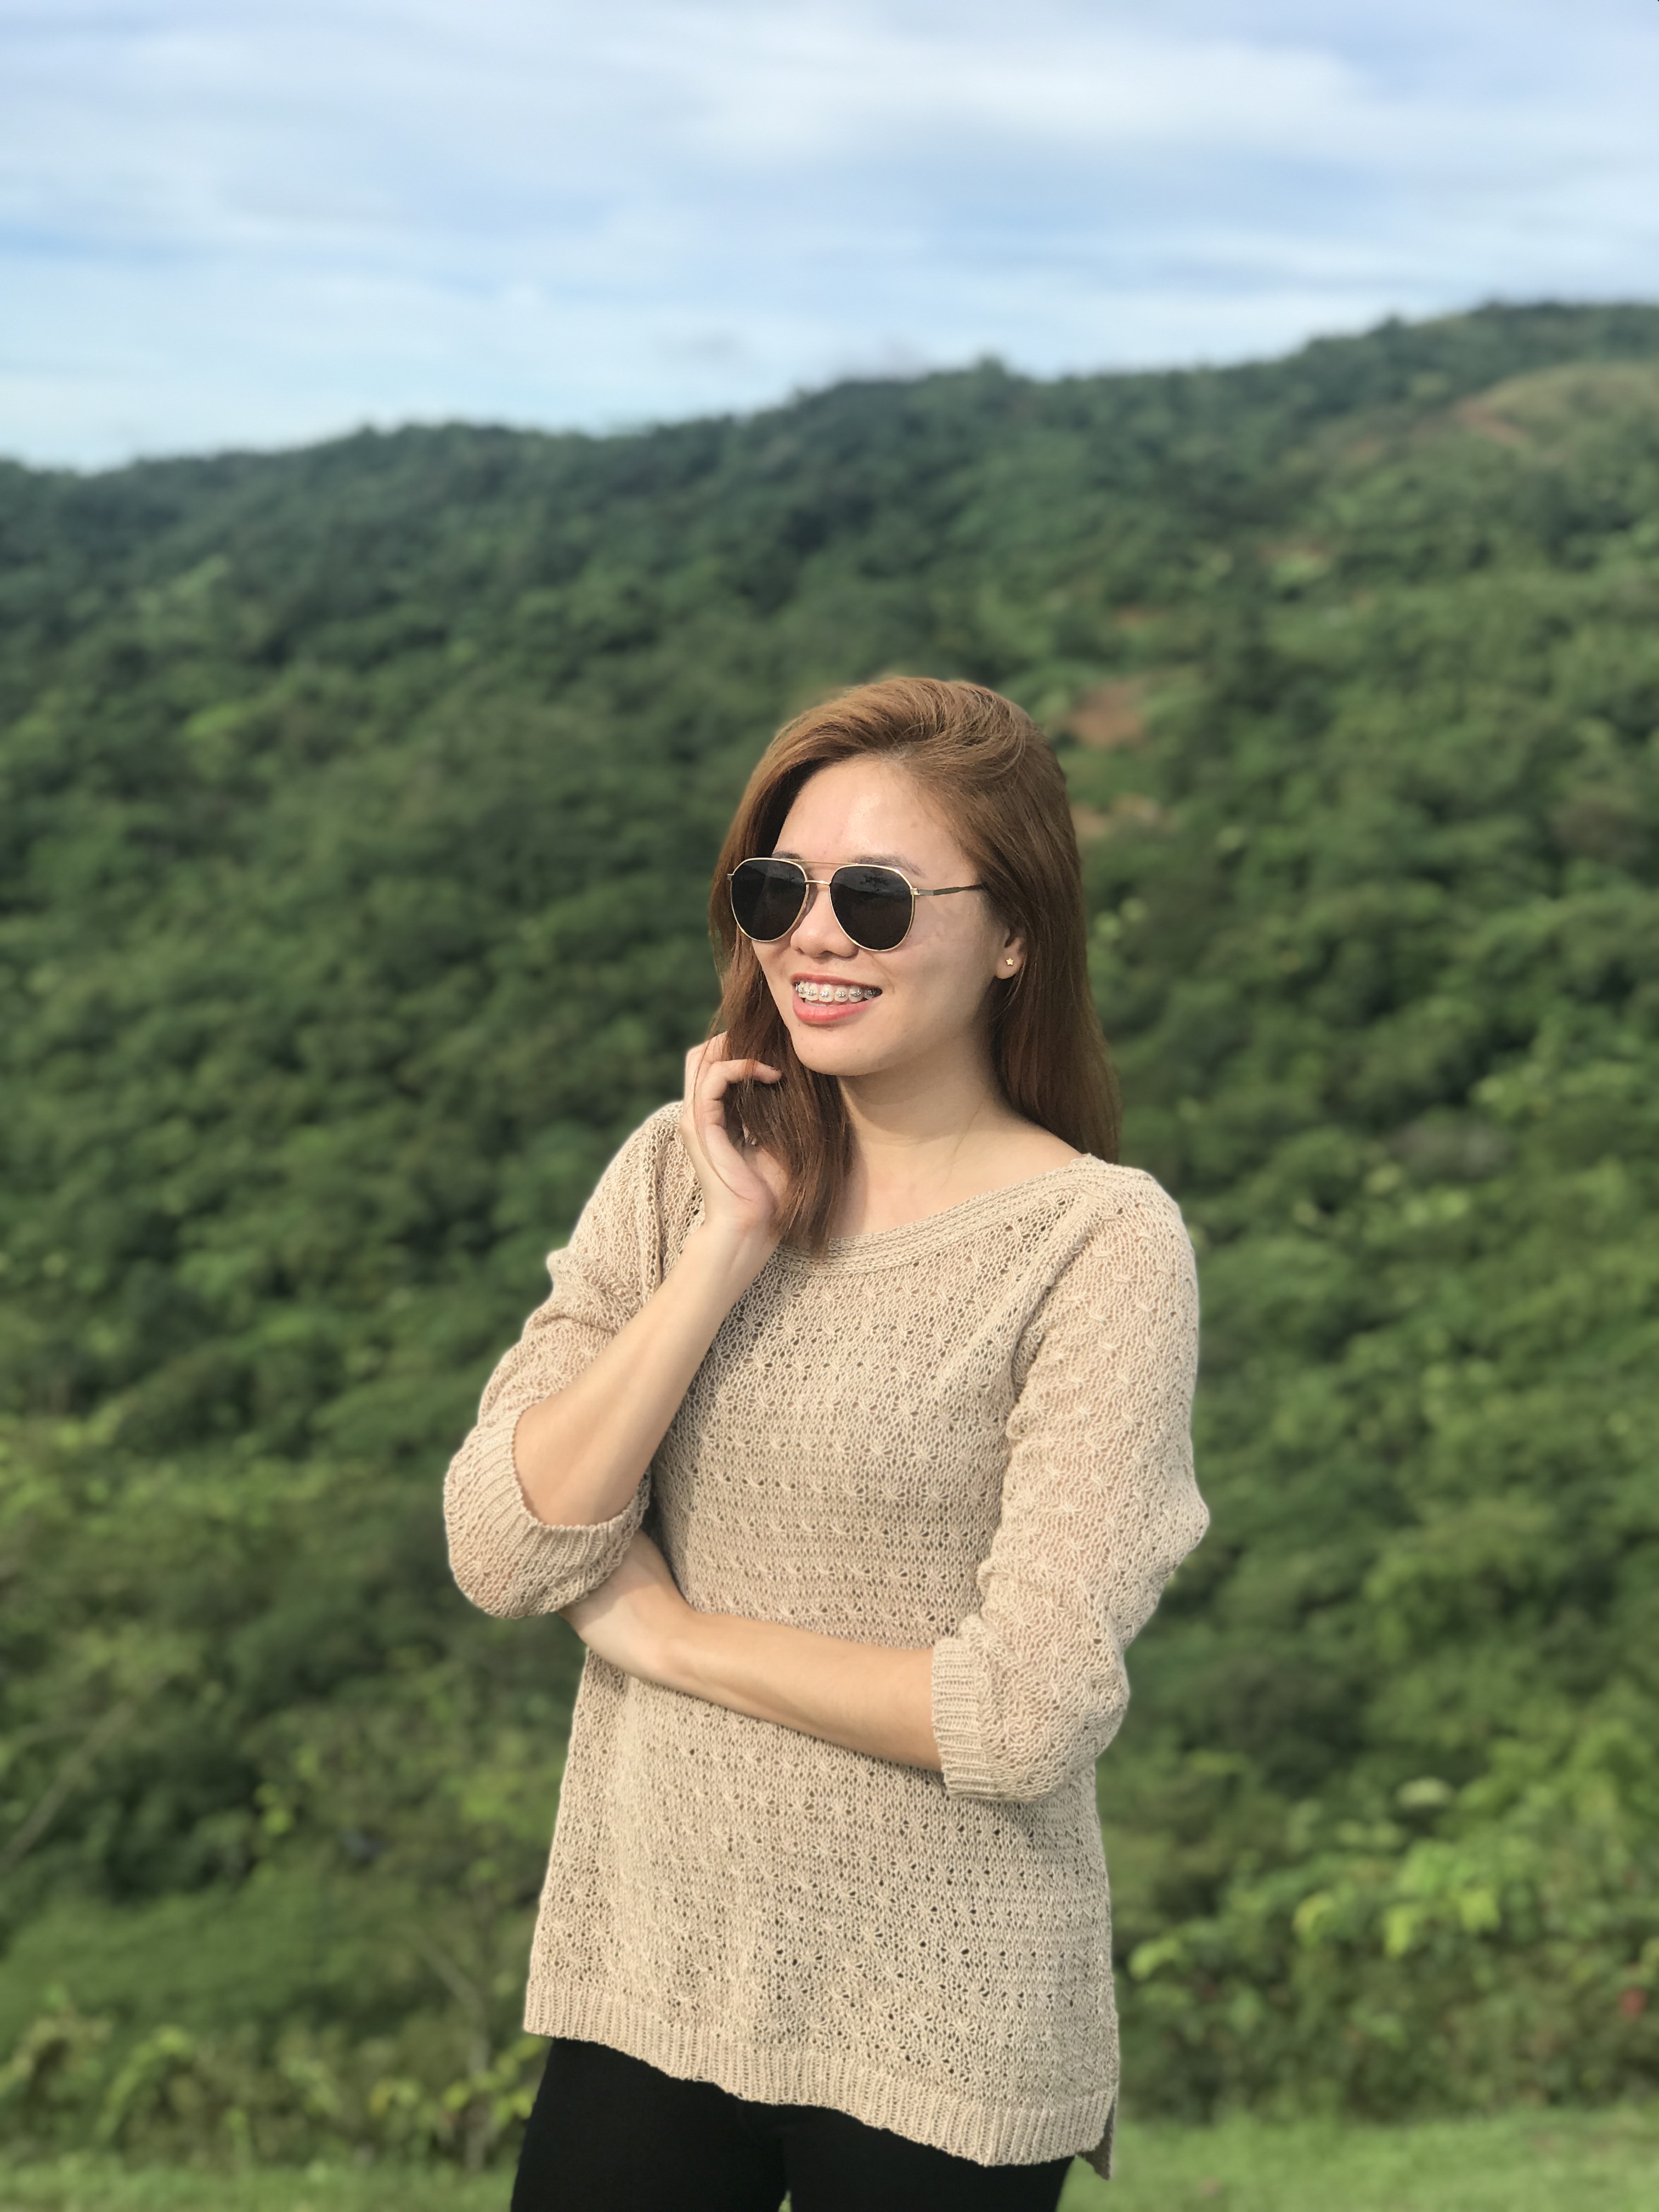
This was our first camping experience ever.

The objective for the trip was quite simple, we wanted to wake up early in the morning, catch up the sunrise, gaze thru the stars at night and wake-up facing the greenery view across our tent.
Hiking and trekking isn’t for me (*nor for Paul but a yes for Brian hahaha! atleast) that is why going over the famous and the usual trekking mountain site isn’t really on top of my priority.
I would rather spend most of the time in my element – the water and the beach. So if you are like me, but would want to have the quick and cheap mountain experience without actually hiking all the way to the top, then this blog is for you too! So read on…
Treasure Mountain is located in Sitio Maysawa Brgy. Cuyambay, Tanay, Rizal and is less than two hours away from Manila.
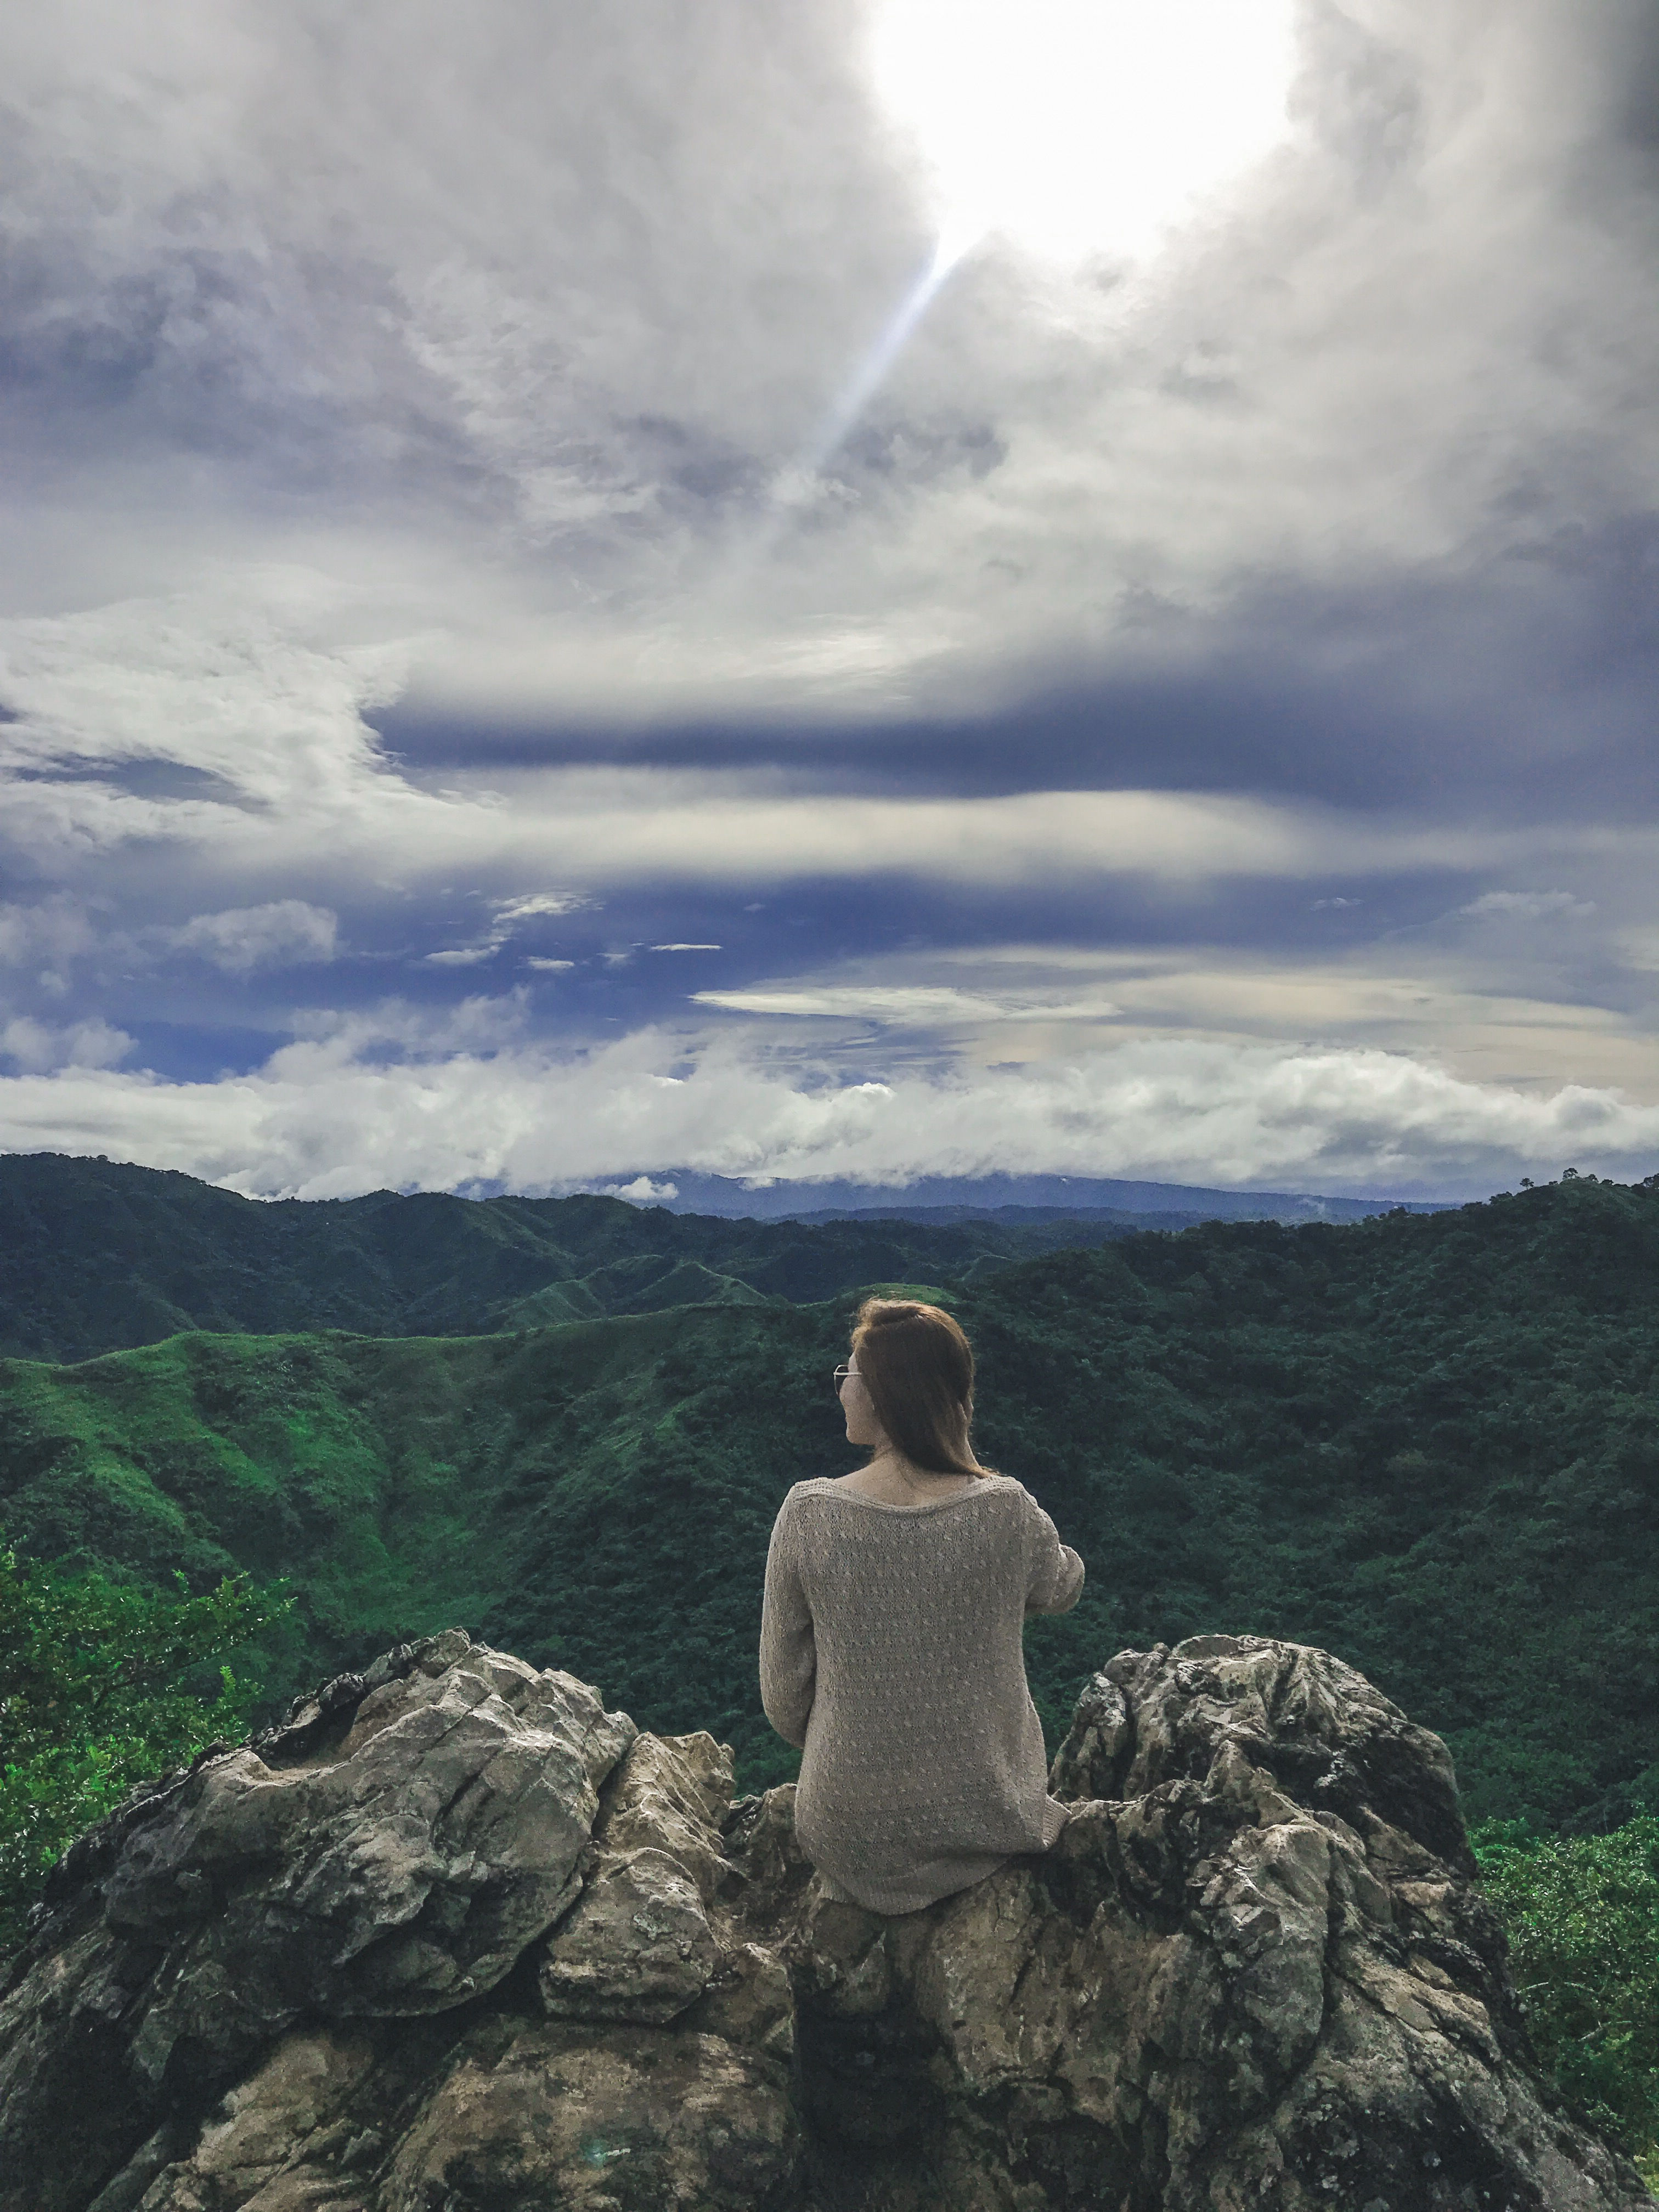
This place is famed for its effortless sea of clouds and superb view of Sierra Madre mountain ranges.
The sea of clouds is not always present on site, but the view would always still be one for the books to check out.

I was with Paul and Brian once again and this is our 2nd trip together after our extra chillin’ escapade at Liwliwa, Zambales. Me – being the extra OC with plans and itinerary; I messaged right away “TREASURE MOUNTAIN” via their official facebook page / account.
Also read : Liw-liwa, Zambales : Laid Back Weekend
Also read : Dolce far niente. That sweet trip to Liwliwa, Zambales
And since we wanted to spend overnight in the mountain, it is a must to book and reserve in advance. Being extra new with this camping escapade, we only brought: food, pillows and blankets, our personal stuff and water I guess – just that.
HOW TO GO TO TREASURE MOUNTAIN?
Public Transportation
- Ride a jeep from Cubao going to Cogeo (Antipolo Centro Mall)
- From Cogeo get off at Sitio Maysawa.
- You may also hire a tricycle from Sampaloc to Treasure Mountain.
(The tricycle can take you straight to the entrance of the Camp Site)
Private Transportation
- Going to Treasure Mountain is pretty convenient via Waze and it will direct you straight to the campsite.
- Travel time is around 1 – 2 hours from Manila
- There is also a parking space in the area, with the fee of Php 50.00 upon your registration
RATES / FEES :
- Day Tour Entrance Fee – Php 150.00 per pax (accommodating from 5AM – 3PM)
- Overnight Entrance Fee – Php 200.00 per pax ( check-in time is between 4PM until 10PM only and the guests can stay until 1PM the following day.
WHERE TO STAY :
You have an option to rent a tent, bring and pitch a tent or rent thru the small rooms available on site as well.
- Rent a tent – rate is Php 500 (good for 2) and Php 800 (good for 4 pax) *they require security fee of Php 1,000.00 where they return once you checked-out of the camping site.
- Pitch a tent – rate is Php 300.00 per tent
- Lodging Room – rate starts at Php 500.00 per person (minimum of 2 pax and maximum of 6 person)
ITINERARY
Our itinerary was just pretty simple, checked-in by 4PM. Hiked a little bit to pitch our tent – it was also raining every now and then during the day which makes it pretty hard for us to settle down inside the tent.
We brought cooked rice + canned goods, century tuna, vienna sausage with our paper plates and utensils, considering we won’t be able to wash our plates and all that. And had our dinner along one of the kubo near the restaurant.
Speaking of which, there is actually a restaurant inside the camping site, so should you wish not to bring any food with you, buying in the resto is also another option – just don’t expect it to be extra cheap.
We were then brushing our teeth while facing the stars at night. It was pretty early but we wanted to make sure to catch the sunrise early in the morning.
Then comes our struggles since it was actually pretty dark in the campsite, it was still continuously raining and the tent weren’t waterproof to begin with!!! We started moving from one place to another but to no luck – we ended up not really having a goodnight sleep, thankfully we had good set of pillows hahaha!! To give us comfort.
We then started laughing at 11PM, when all of a sudden – the three of us woke up at the same time. We only have few things in mind during that particular time, our clothes were all wet, our bags, the mattress where we’re lying with, is all soaked up at the same time.
Literally everything was super wet!! Hahahaha!! It was really a night that tested our friendship (*hahahahaha!!! We realized how we managed to put ourselves together despite and in spite of what is happening at the moment) We were laughing until we got tired and ended up sleeping in a position we weren’t sure how we fit in.
It was certainly one of the longest night of my life, I kept on waking up every now and then, checking our current state while we’re inside the tent. There were so many people also in the camp site which makes it kinda’ noisy during night. There were kids – crying, playing and shouting at one point and there were group of friends who couldn’t keep their voices modulated enough so we won’t hear a bit.
(This I tell you, is why a Camp Site as cheap as this, should be visited on a Weekdays better; so you could get to enjoy it also)
By morning, 4AM the earliest we were then waiting for the sunrise, opened our tent and see the glimpse of how peaceful the mountain is. Full of greenery and trees around – who would have thought it is just situated around and along Antipolo and Rizal. I could have enjoyed this view better if we had a good night sleep after all.
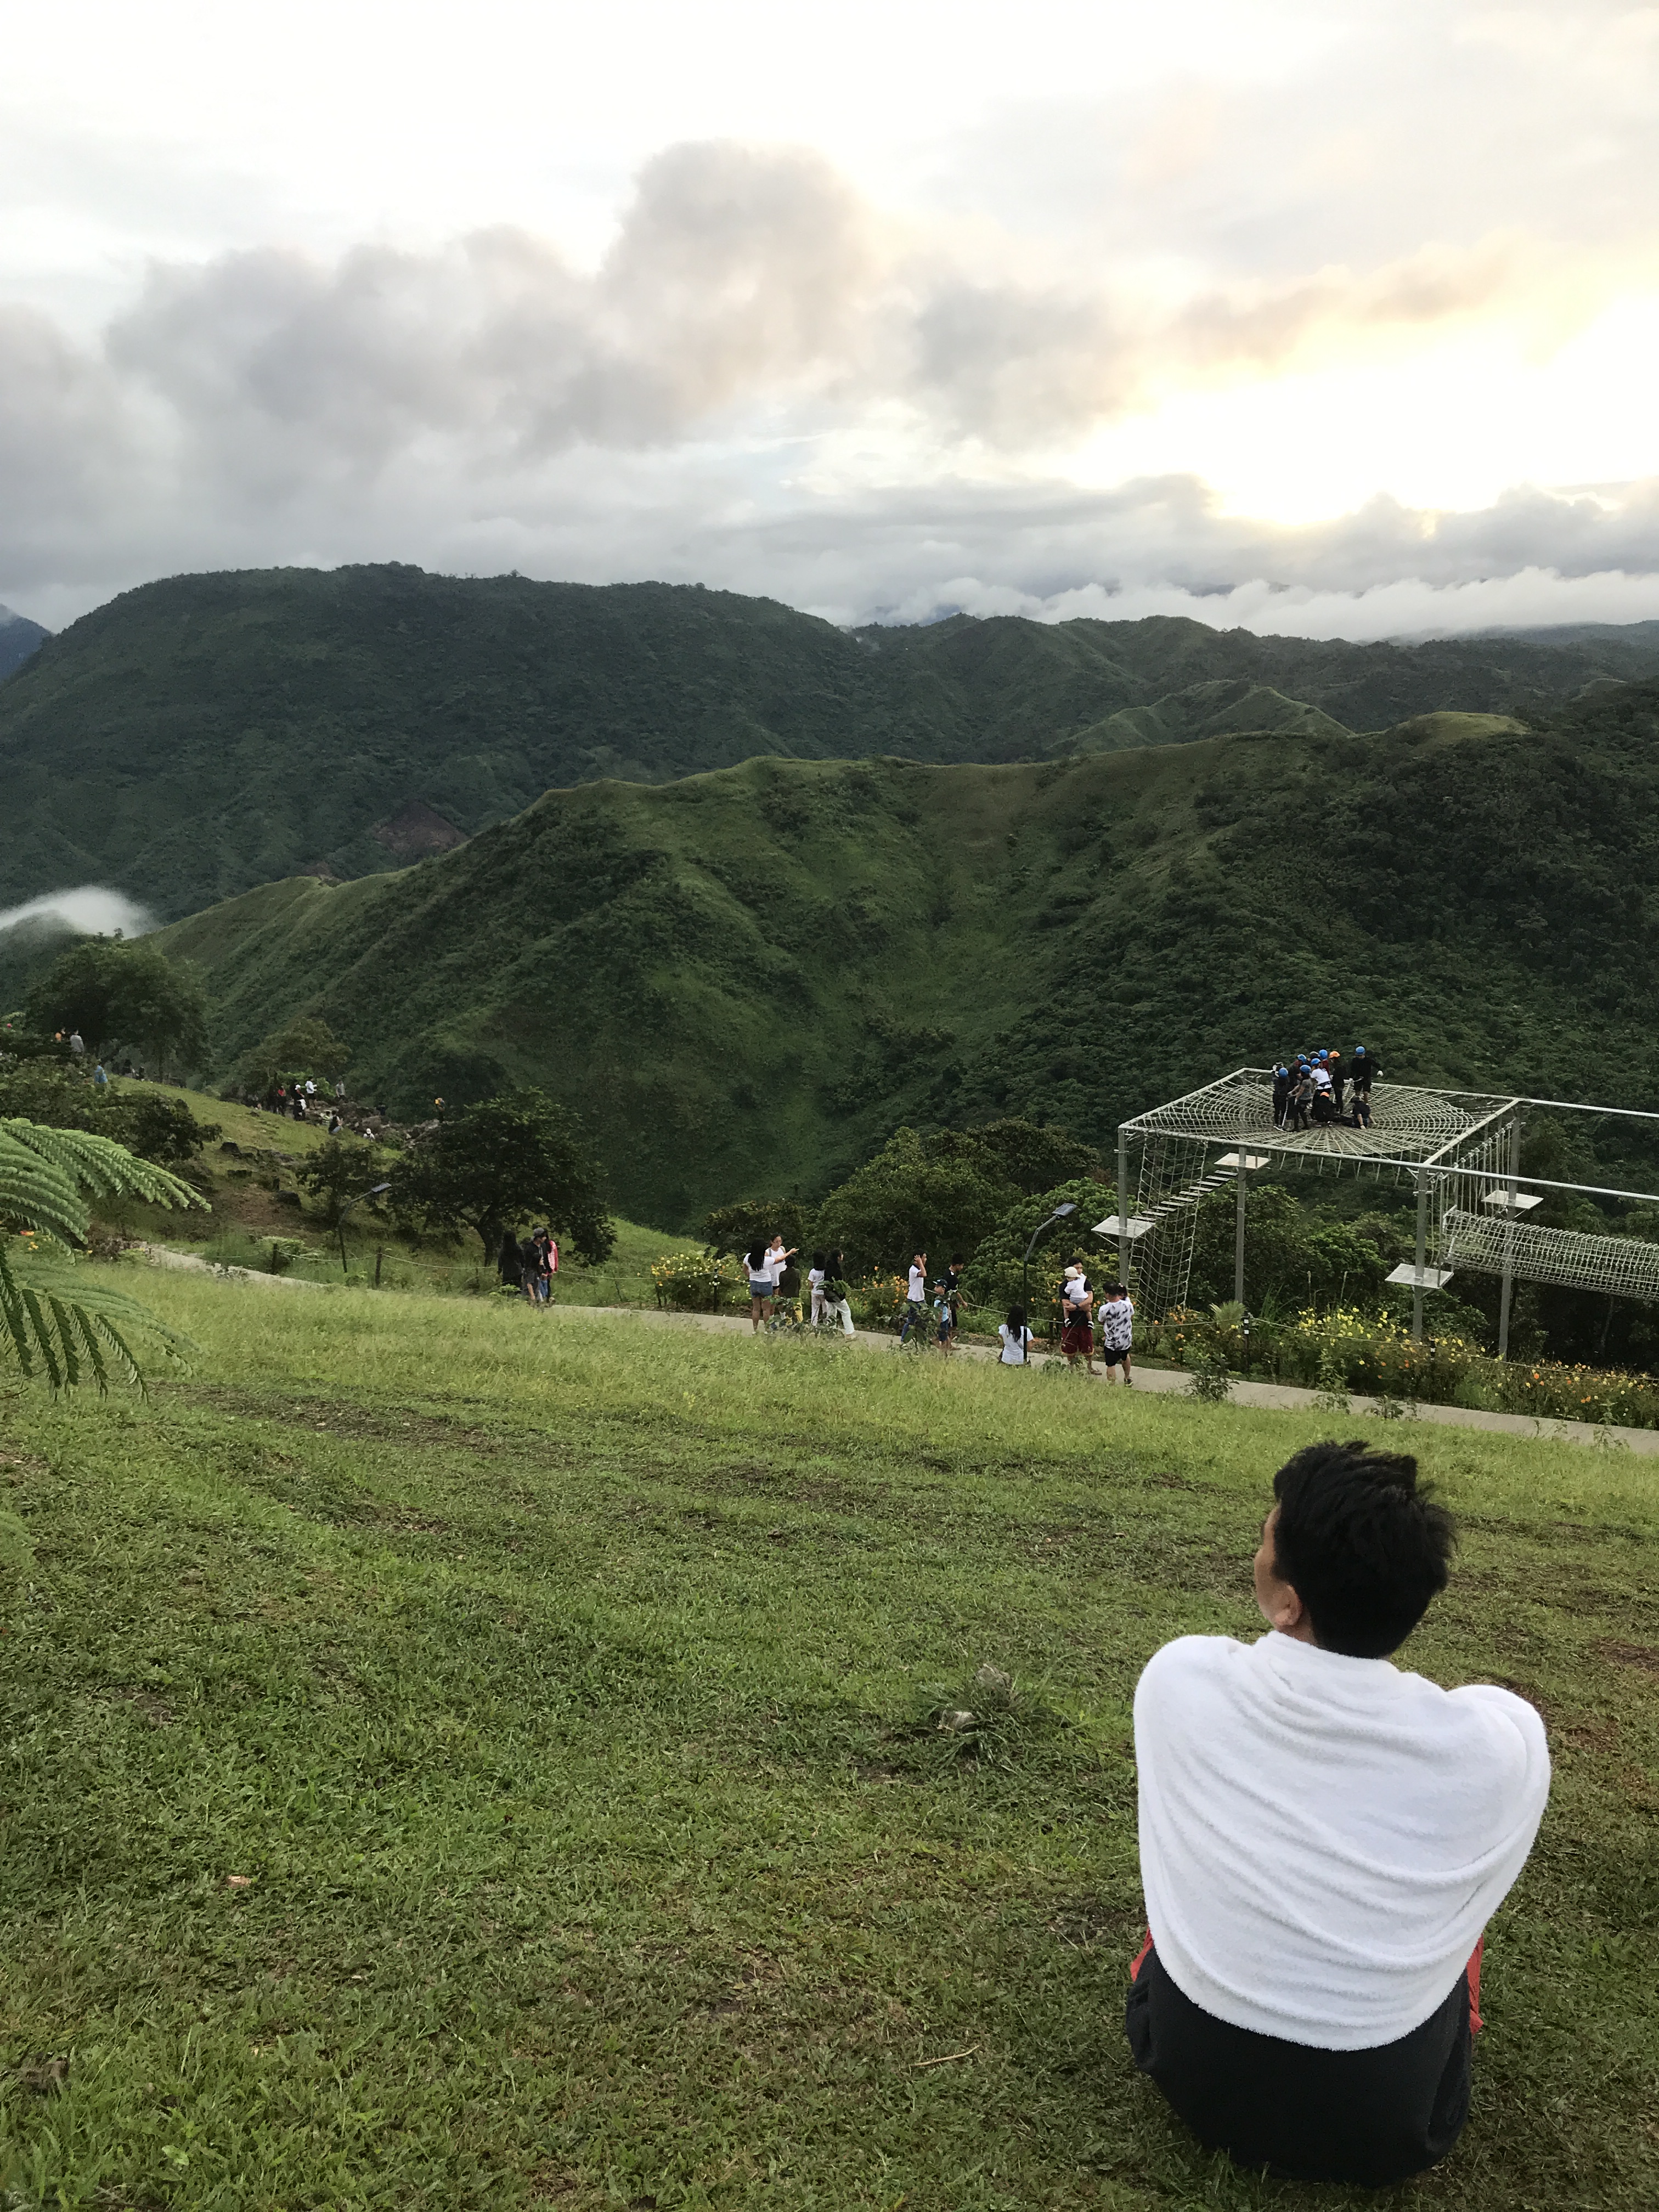
Moving on, the influx of the walk-in tourists started coming in by 5AM until 9AM. Everyone’s waiting for the sunrise, the sea of clouds and a photo is a must for this.
There were people everywhere!!! But also consider that we visited on a weekends and on a holiday as well, which makes this extra acceptable.
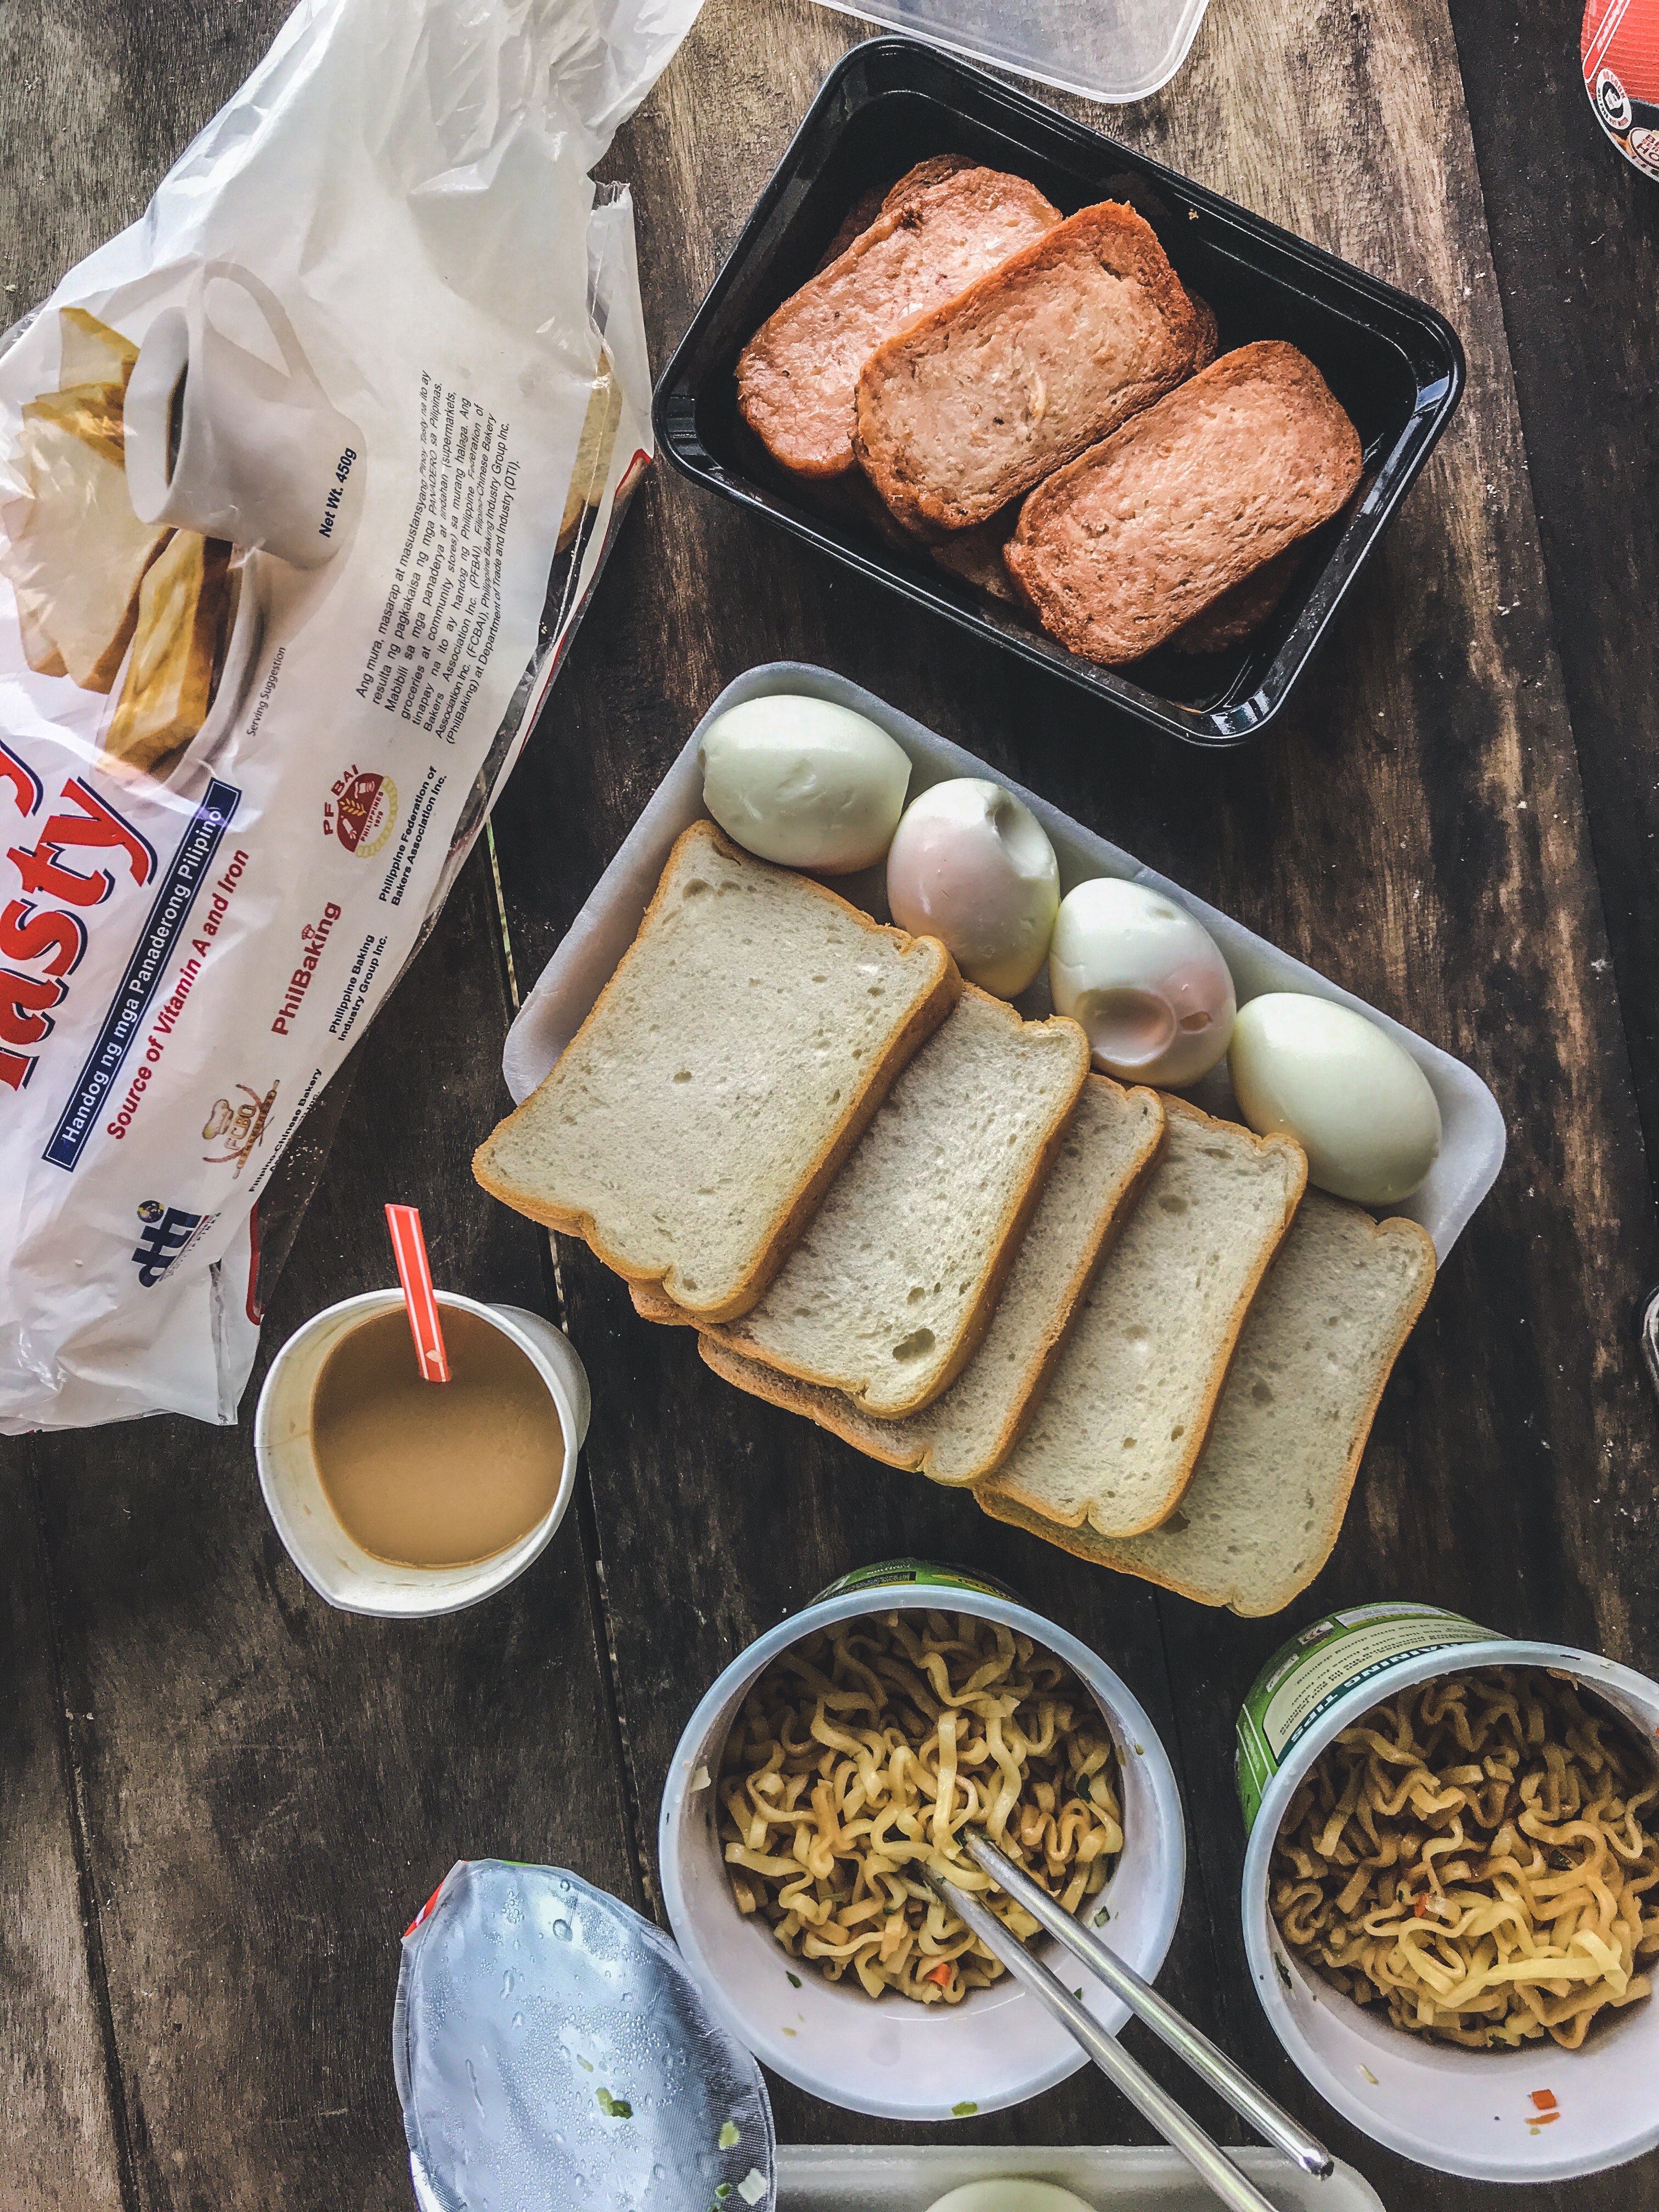
We had our breakfast across the vacant kubo and eat our packed breakfast as well. This time, we prepared Spam and Bread, Pancit Canton and boiled eggs (*we asked for hot water from the restaurant so it is actually readily available)
After breakfast, from the cold breeze in the morning by 9AM it started getting humid and extra hot, there were still people everywhere and we then decided to look for a place where we could soak and spend for the rest of the day.
AS a whole here’s our key take-away from this trip :
- Be prepared with camping, and ready all your camping materials, it is always best to check what is available on site so you get to prepare in advance
- Remember to bring flashlight that is fully charged since there was no electricity (*this will help big time)
- Don’t forget to bring and charge your power banks at the same time
- I would recommend to pitch and bring a tent of your own so you are sure how big and how sturdy it is (ours was good for 4 persons according to the guide but we ended up fitting ourselves inside the tent even though we’re just 3)
- Relative to the tent, it is also best to know if the tent is waterproof so you avoid the same scenario that we had
- Check the weather in advance and see if it matches your plan as well
- Better to bring food, canned or cooked ones – so you get to save on this part
As a whole, I didn’t think we spent more than Php 2,000 for the entire two days trip (we made a quick stopover at Tinipak River and spent the rest of the afternoon there)
Everything was really charged to learning and one thing was so sure after the trip – we’d like to camp once again to redeem ourselves from this unexpected disappointments. I couldn’t imagine spending this first camping experience as well if not with Paul and Brian who were both great travel buddies. I wonder if it weren’t because of the rain, we could have enjoyed it much better, we could have settled way better.
Anyhow, Travels does not always start and end with good travel photos nor Instagrammable shots only. It takes a lot of time and effort as well to make it all happen. It takes research to make sure you are all ready and equipped with the right tools and materials needed for the trip.
If you wanted to see the actual places I’ve been, check out my IG story highlight – under Tanay @nathaliecsalcedo
Hope this helps you too.
Follow me on IG @nathaliecsalcedo and send me DM if you have other questions!
I also update my FB Page @ilovenatsblog
xoxo,
Actual Travel Dates : Nov 1 – 2 2019

Kudos on your camping experience! That breakfast must have tasted really good after the rainy night. I love the photos on this post too! It captures the scenes you described perfectly. I go hiking but I’ve never been to Treasure Mountain. Looks like a fun weekend climb!
LikeLike
Kudos on your camping experience! That breakfast must have tasted really good after the rainy night. I love the photos on this post too! It captures the scenes you described perfectly. I go hiking but I’ve never been to Treasure Mountain. Looks like a fun weekend climb!
LikeLike
I’m in love with the place already! I’ve been meaning to try camping but haven’t had the chance. Hopefully soon!
LikeLike
Hello Nats! Very insightful! going there this Sunday!
LikeLike
Welcome Grace! Enjoy!
LikeLike
How amazing reviews! thank you for sharing some tips and details about the place. My friends and I really loved to go there but it became impossible cause pandemic happens. Hence, soon as everything get better, hopefully we can make it. God bless and more trips to come Nathalie :)))
LikeLike
thank you!! Yes, here’s to better days to travel once again!
LikeLike